Discover 4k and 5k cam chat technology for Crystal-Clear Video
High-definition video calls have become the new standard, thanks to 4k and 5k cam chat…
Key Takeaways
Upgrading to 4K or 5K cam chat is not simply a pixel count decision. The biggest visual gains come from better glass, controlled lighting, and a stable upload, not from resolution alone.
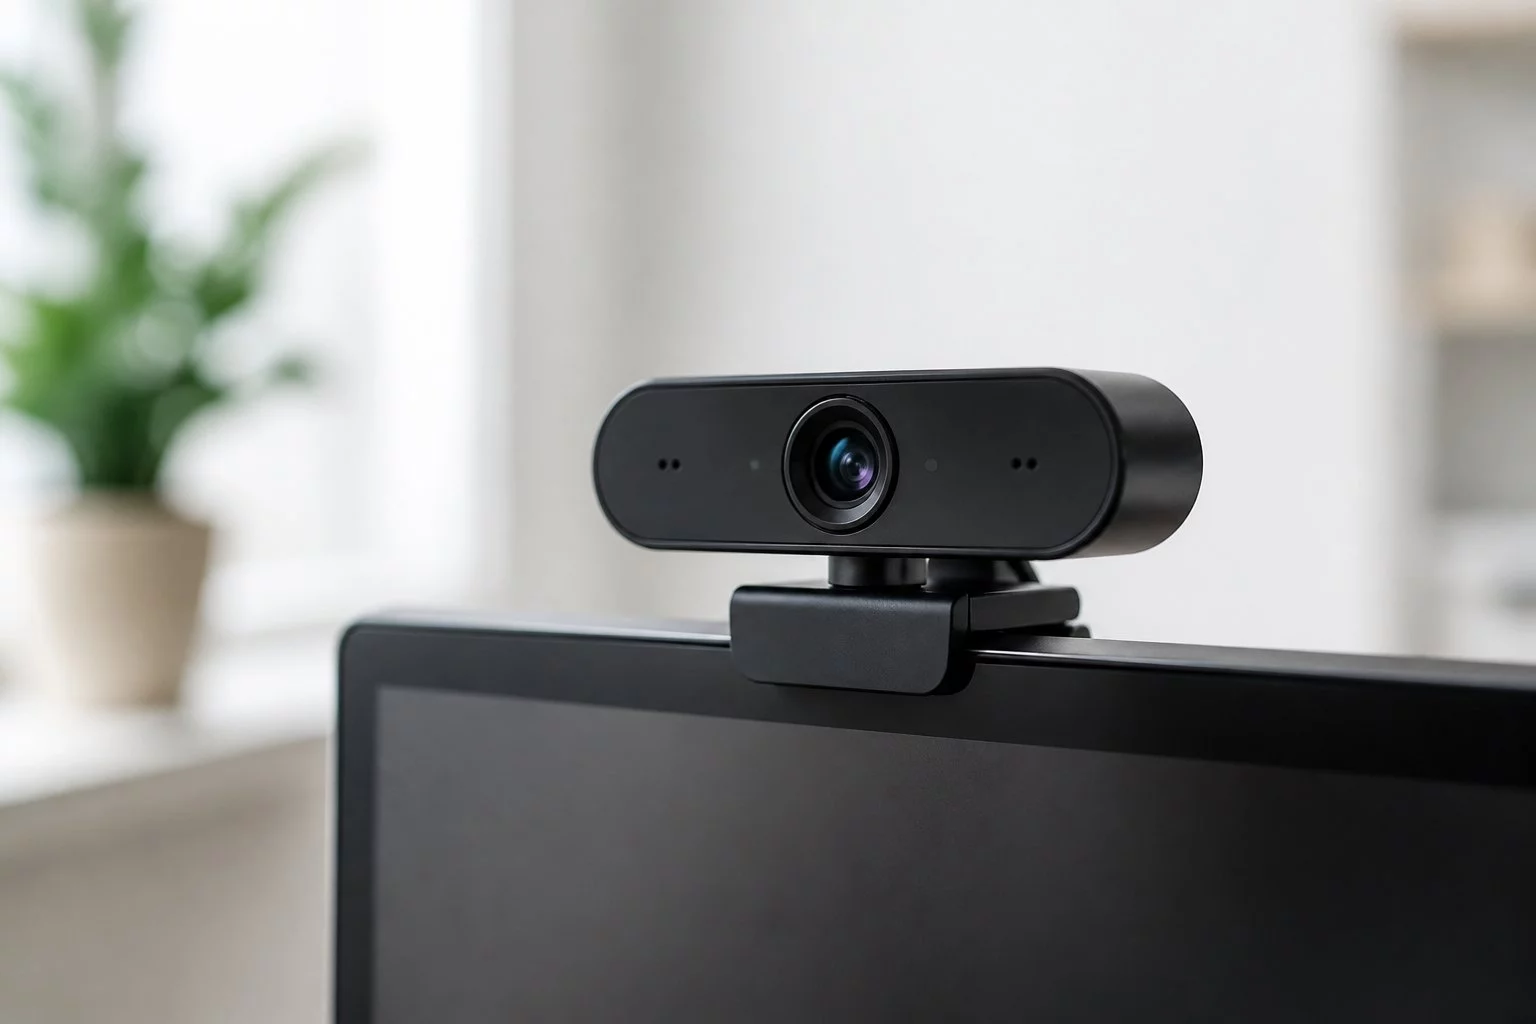
- Poor image quality quietly erodes viewer retention and tips long before most creators notice.
- A functional 4K setup needs a high-quality sensor, a sustained wired upload of at least 25 Mbps, and a GPU with hardware encoding support.
- The Visual Fidelity Gap is the psychological distance between viewer and creator, it narrows as image quality, lighting, and motion handling improve together.
- Poor lighting makes high-resolution footage look worse than well-lit 1080p. Fix light before touching the camera.
- Beginners see meaningful gains fastest with a plug-and-play 4K webcam and better lighting alone.
- Advanced creators benefit most from a mirrorless camera paired with a capture card for superior image depth and real manual control.
Why Image Quality Is Quietly Losing You Viewers
Soft, noisy video drives high-value viewers away, and most creators don't notice until the damage is already done. The decline is gradual: sessions get shorter, return visits thin out, tips plateau. By the time the pattern is obvious, a lot of retention has already been lost.
Creators who upgrade to 4K or 5K cam chat consistently report longer average session times and a real lift in tips. The reason isn't just sharper pixels. Better image quality reads as professionalism, and viewers respond to that signal even when they can't articulate why.
Who this guide helps: beginners wanting visible upgrades fast, and advanced creators evaluating a mirrorless and capture card investment.
The fix isn't simply adding resolution. Genuinely sharper, more engaging footage means addressing light, motion, and sensor noise together. Poor light makes high-res footage look worse than well-lit 1080p, no camera body can compensate for that.
Start with a simple test: record a 60-second clip with your current setup and play it full-screen on a 4K display. Look at where detail breaks down, during movement, in shadow areas, on fine texture. That's your actual baseline, and most people are surprised by how rough it looks at that scale.
What a 4K/5K Cam Chat Setup Requires for Crystal-Clear Video and Stable Delivery
A functional setup requires three things aligned at once:
- A high-quality sensor, large-sensor webcam or mirrorless body
- Sustained wired upload with comfortable headroom above your target bitrate
- A modern GPU with hardware encoding (NVENC), using H.264 or HEVC as your platform allows
Most cam platforms and browsers cap delivery at H.264 and 1080p with modest bitrates. As a rough guide: 1080p streams typically need around 6–10 Mbps; 1440p around 12–20 Mbps; 4K at 30fps around 20–35 Mbps; and 4K at 60fps around 35–50 Mbps. HEVC encoding can meaningfully cut those numbers.OBS NVENC streaming documentation and your platform's own encoder guidance for exact caps.
Even when delivery is capped, capturing at 4K or 5K for oversampling often produces a noticeably cleaner image when downscaled to 1080p or 1440p. That alone can close a visible quality gap without requiring any platform-side changes.
One creator assumed her new 4K webcam would immediately look better than her old 1080p setup. It didn't, her upload was inconsistent and her platform was capping the stream anyway. The fix was straightforward: switch to a wired connection and confirm what the platform actually supported. That sequence matters more than the hardware choice itself.
Beginners are usually best served by a plug-and-play 4K webcam paired with better lighting. More experienced creators will get further with a mirrorless camera and a capture card. The larger sensor and interchangeable lenses produce image depth no webcam can match, and the difference in color accuracy tends to be obvious in any direct comparison.
The Visual Fidelity Gap, What It Is and Why It Matters
The "Visual Fidelity Gap" is the perceptible distance between what a viewer sees and what feels like a real, present person on screen. It has nothing to do with pixel count alone.
Resolution, noise floor, color accuracy, and motion handling all work together. When any one breaks down, the stream looks flat, and viewer retention drops before most creators understand why. A Sony a6400 with a quality prime lens holds more detail and more natural skin tones than a typical 4K webcam at equivalent settings. Webcams compensate with aggressive sharpening and noise reduction that looks acceptable at a glance but reads as artificial under close inspection.
The gap only closes when resolution pairs with controlled lighting and clean motion. For a quick reality check, export a 1080p and a 4K still frame from your current setup and compare them at 100% zoom. Sharpness, noise, and color accuracy will tell you more than any spec sheet.
A Hardware-First 4K Checklist
Step 1, Sensor selection. Prioritize large-sensor webcams or mirrorless APS-C and full-frame cameras for better dynamic range and lower noise. Pushing bitrate through a weak sensor still produces a harsh, grainy image. Better glass, better sensor, that's the sequence.
Step 2, Lighting for high resolution. 4K is unforgiving. It exposes bad light immediately. Use a soft key light and a gentle fill; a single bright ring light flattens features and texture in a way that only gets more obvious at higher resolution. A modest two-light setup produces depth that a ring light simply cannot replicate.
Step 3, Encoder settings. Use hardware NVENC (H.264 or HEVC, depending on platform and browser support) with CQ or tuned VBR in OBS. Match your keyframe interval to your show's motion, roughly 2 seconds for talk, shorter for fast movement. Skipping these settings is the most common cause of motion artifacts at higher resolutions. The OBS NVENC documentation covers recommended settings for both codecs.
Step 4, Network stability. Aim for sustained upload headroom of around 25% above your target bitrate and always use wired ethernet. Typical ballpark figures: 1080p ~6–10 Mbps; 1440p ~12–20 Mbps; 4K at 30fps ~20–35 Mbps; 4K at 60fps ~35–50 Mbps. HEVC can reduce those requirements noticeably. To confirm your connection holds under load, run a sustained upload test and watch for spikes, consistency metrics reflect real-world performance far better than a single peak number.
Mount your camera, position two lights, configure OBS to NVENC at your target bitrate, then run an uninterrupted 10-minute upload test before going live. Measure first, upgrade second.
Side-by-side still frame at 100% zoom: 4K webcam output vs. mirrorless camera at the same bitrate and lighting.
Two Hardware Paths: 4K Webcams vs. Mirrorless + Capture Card
Beginners will see the biggest immediate return by fixing their lighting first, then adding a plug-and-play 4K webcam. Setup is simpler, compatibility risk is low, and the improvement over a standard 1080p webcam is visible from day one. The Logitech Brio series is a widely used entry point in this category, typically priced between $150–$300, and it works reliably across most major platforms with minimal configuration.
Advanced creators should consider a mirrorless body paired with a quality capture device. The larger sensor, interchangeable lenses, and shallow depth of field create a perceived quality no webcam can match. A common setup pairs a mirrorless body, such as a Sony a6400-class camera, with an HDMI capture device like the Elgato Cam Link or a 4K-capable capture card. Total cost typically starts around $800 and rises with lens choice. These are category examples, not specific endorsements; options vary widely by budget and platform.
True 5K workflows rely on high-resolution capture plus quality optics rather than a native 5K sensor. In practice, 5K is most useful for oversampling down to 4K or 1440p, since native 5K streaming is rarely supported by cam platforms or browsers. That oversampling step is where most of the real sharpness gain actually comes from.
Hardware alone doesn't close the Visual Fidelity Gap. Many expensive setups still look flat because the operator skipped lighting and went straight to a new camera body.
Common Mistakes That Kill 4K Quality
Poor lighting with a high-resolution sensor. A 4K sensor in bad light produces a grainy, harsh image that can look worse than a well-lit 1080p stream. Lighting and sensor gain interact directly, don't upgrade the camera without upgrading the light.
Ignoring upload consistency. Bitrate spikes cause visible macro-blocking that stops viewers cold. Average upload speed matters far less than how steady that speed stays under sustained load.
Cheap or overly long cables and incorrect capture modes. These create bottlenecks and dropped frames before the encoder ever sees the feed. Use certified HDMI cables at appropriate lengths and confirm your capture device is set to the correct resolution and frame rate.
Automatic exposure and white balance left active. Even small mid-stream shifts in exposure or color read as unprofessional at 4K in a way that's easy to miss at 1080p. Lock both once your lighting is set and leave them there.
Most creators who struggle with 4K quality aren't chasing the wrong hardware. They're chasing it in the wrong order.
Realistic Results, ROI Signals, and Failure Modes for 4K/5K Cam Chat
Done right, a 4K/5K upgrade delivers crisper detail, fewer motion artifacts, and a stronger sense of presence, which supports longer sessions and better retention over time. Tip growth is rarely immediate. Measure retention first, and let the data tell you whether the upgrade is actually landing.
Sharper, steadier video increases perceived closeness and professionalism. That tends to extend how long viewers stay and builds the kind of trust that turns casual browsers into regulars. Tips usually follow once loyal viewers notice the difference.
Done wrong, a 4K/5K setup can perform worse than a well-tuned 1080p stream, and that's not an exaggeration. The most common failure modes are inconsistent lighting, poor capture cabling, and leaving automatic exposure active during motion. A high-resolution sensor doesn't hide those problems; it amplifies them. Invest in a better camera, skip the lighting work, and you'll often end up with a noisier, harsher image than what you started with.
If your ISP upload or GPU is the limiting factor, fix your lighting and optics before touching anything else. Better glass and better light close the visual gap faster than a modest bitrate bump ever will.
Run two identical 30-minute shows, one at 1080p and one at 4K/5K, then compare retention and chat engagement in your platform analytics. That's the clearest signal for whether high-resolution streaming is actually worth it for your specific audience.
What to Do Next
The upgrade path is straightforward once you know where you actually stand. Record a 60-second clip, play it full-screen on a 4K display, and note exactly where the image breaks down, motion blur, shadow noise, color shifts. That tells you which bottleneck to fix first.
If lighting is the weak link, address that before spending anything on new hardware. A two-light setup with a soft key and gentle fill will do more for your image than any camera body swap. If your connection is the constraint, switch to wired ethernet and run a sustained upload test before drawing any other conclusions. If the sensor is genuinely the ceiling, choose your hardware path, plug-and-play 4K webcam for simplicity, mirrorless plus capture card for maximum image quality, and configure your encoder settings in OBS before your first 4K stream.
Measure retention after two to three weeks. The numbers will tell you whether the upgrade landed.
Frequently Asked Questions
What is the Visual Fidelity Gap?
The Visual Fidelity Gap is the psychological distance between viewer and creator that shrinks as image quality improves. It's not just about pixel count, resolution, noise floor, color accuracy, and motion handling all play a role.
What are the essential components for a 4K cam chat setup?
You need a high-quality sensor, a sustained wired upload speed of at least 25 Mbps, and a modern GPU with hardware encoding support, NVENC for H.264 or HEVC, depending on what your platform accepts. For most creators, GPU encoding is the real bottleneck. Network speed matters, but it's rarely the first thing that breaks.
Why is lighting so important for 4K cam chat?
4K is unforgiving. Poor or badly placed lighting can make a high-resolution image look grainy and harsh, sometimes worse than a well-lit 1080p stream. In most setups, fixing your lighting delivers a more visible improvement than bumping your bitrate, and it has a direct effect on how long viewers stick around.
Should beginners invest in a mirrorless camera for 4K cam chat?
Not at first. Beginners get the fastest return by improving their lighting, then adding a plug-and-play 4K webcam. Mirrorless cameras paired with capture cards are for advanced creators chasing the highest possible image quality, they add complexity that most people don't need early on.
How can I test if my internet connection is suitable for 4K cam chat?
Run a sustained upload test on a wired connection and watch for spikes and drops below your target bitrate. Brief dips matter more than your average speed. If your testing tool offers percentile or consistency metrics, use those, they give a much clearer picture of real-world stability than a simple average ever will.
What common mistakes should I avoid when upgrading to 4K?
The biggest ones: weak lighting paired with a high-resolution sensor, ignoring upload headroom, using cheap or overly long cables, and leaving auto exposure or auto white balance active. Any one of these can cancel out everything a 4K/5K setup offers, leaving you with a worse-looking stream than a well-tuned 1080p rig.
Ready to experience live VR cams?
Enter Live VRStrip.Cam Free